[HowTo] Install ~15 years old Debian Linux

Hi there,
I've figured out a while ago how to install debian on an old PC online, without downloading and burning a bunch of CDs.
It only takes one CD to boot from and start the installer.
This post will be quite long with a lot of screenshots, I hope you'll like it.
I am going to write about debian 3.0r6, the last revision of so called Woody release. It was introduced in 2002. I could have chosen an older on, but i want to use KDE as well as OpenSSH, which both were introduced in 3.0.
Debian 3.0 will work on an 386 or 486 as well without problems or speed issues, depends on what you are doing with it. Starting Windows XP in a VM could bring it down on it's knees ")
For those old systems not able to boot debian offers floppies. I am writing about these in a later post.
I use VirtualBox, but the procedure is excatly the same on a real PC. For example I did this also on an ASUS SP97V with a Pentium 133 and 64MB RAM, ET4000W32 VGA.
I assume you are familar to create a VM, I am not going to cover this. Your VM should be configured like this:
HDD = 5GB or more
RAM = 64....256MB
Sound = Soundblaster 16
Net = PCNet, bridged
Chipset = PIIX3, Mouse = PS2
Debian Project is maintaining an archive of old stuff. You can find 3.0r8 discs here:
https://cdimage.debian.org/mirror/cdimage/archive/3.0_r6/i386/iso-cd/
Go there and just download first CD (debian-30r6-i386-binary-1.iso). Use this CD to boot your VM.
I am not posting every single step with a screenshot. Just read the instructions on screen, I'll cover the intersting part here.
System booting (notice the beer in Tux's hand):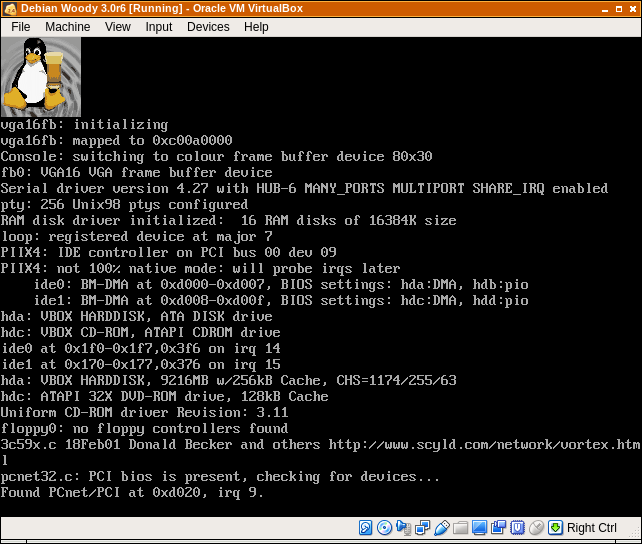
For such an old Linux Distribution, there are already a lot of available languages: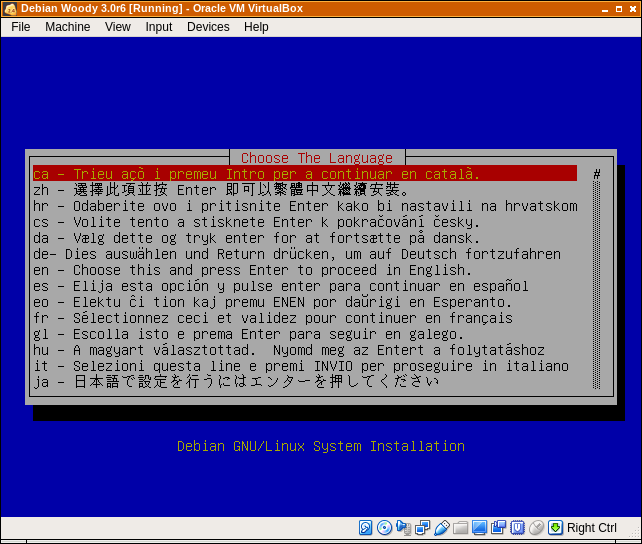
Once you're in installer main menu, you'll setup keyboard and go on to partitioning. If he asks "start with a zero parititon table", answer "Y".
Linux partition schemes are quite strange to Windows-Users, but in our case it is very simple and straight forward.
/dev/hda is the first disk on IDE channel 0
/dev/hdb is the second disk on IDE channel 0
/dev/hdc is the first disk on IDE channel 1
/dev/hdd is the second disk on IDE channel 1
Once you have chosen your desired disk, there is cfdisk starting. It is a menu-driven fdisk tool. (Be glad, others use command driven fdisk):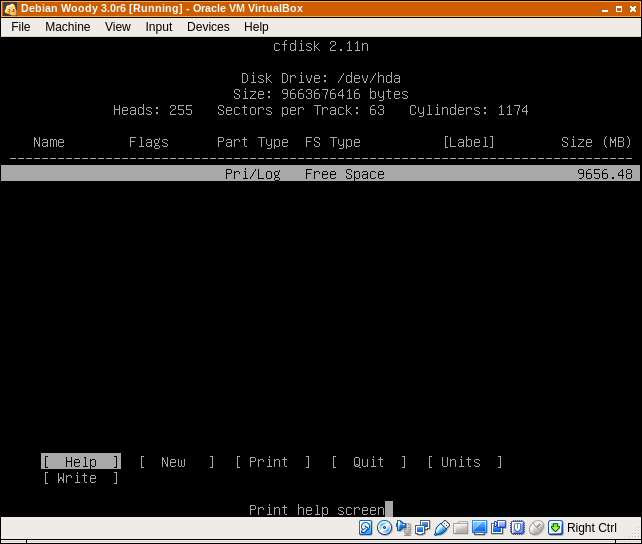
You use the arrow keys, enter, ESC, ... for navigation and create two partitions:
/dev/hda1 ALL-512MB (ex. 8GB disk=7.5GB partition)
/dev/hda2 Rest 512MB
hda1 will be our "root filesystem", where the OS and our data is stored.
hda2 will be swapspace, where OS puts memory contents if it runs out of memory.
On hda2 use "Type"-Menu to set type to "82" (swap).
On hda1 use "bootable"-Menu to make it bootable.
In the end your partition layout should look something like this: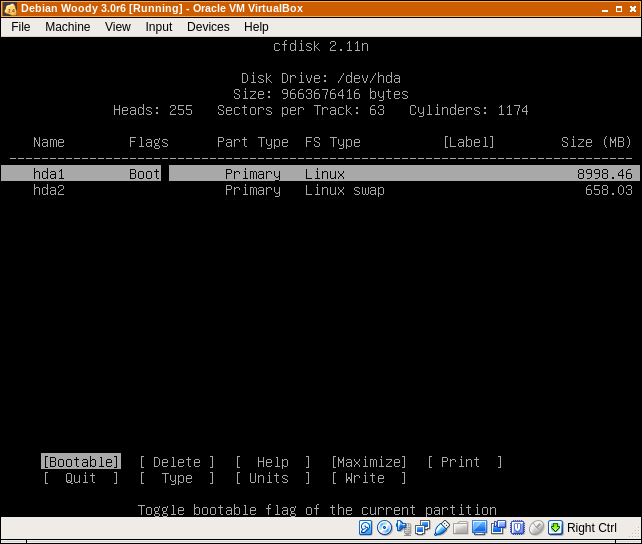
When you have done this, go to menu-entry "write" and then quit with "quit".
You'll get back to menu and will be asked to initialize swap and rootfs. If he asks
for a bad block scan, you may do this on a real PC, but in a VM it's pretty useless.
When you get to the point of network configuration, it get's interesting for us again.
If you have chosen "bridged" networking and you have normal "home router" setup at your place,
it is very simple. Just use DHCP. From router's point of view there is just another computer on the
network. You can even ping or ssh or whatever between host and VM.
After network there is "installing base system". Some you maybe remember this step taking
ages to complete, in my VM it was done before I got bored, so fast ")
When lilo asks, where to install, use /dev/hda, not hda1. This is only useful in multiboot-configurations,
where lilo is NOT your main-bootloader.
When he asks to make a boot floppy, it's up to you, it is optional.
After a reboot you will see this: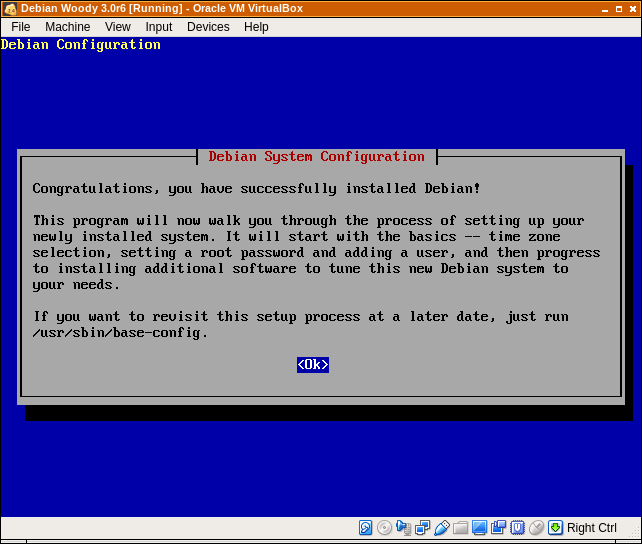
He asks a few questions about user accounts, password, ... do them and when he asks for "PPP connection for downloading" say NO.
We use direct editing of sources.list. There is a editor opening a empty file ("/etc/apt/sources.list" with 0bytes).
We add these lines:deb http://archive.debian.org/debian/ woody maindeb-src http://archive.debian.org/debian/ woody main
End and save editor with CTRL-X and Y. He will update your local apt-repo from debian archive.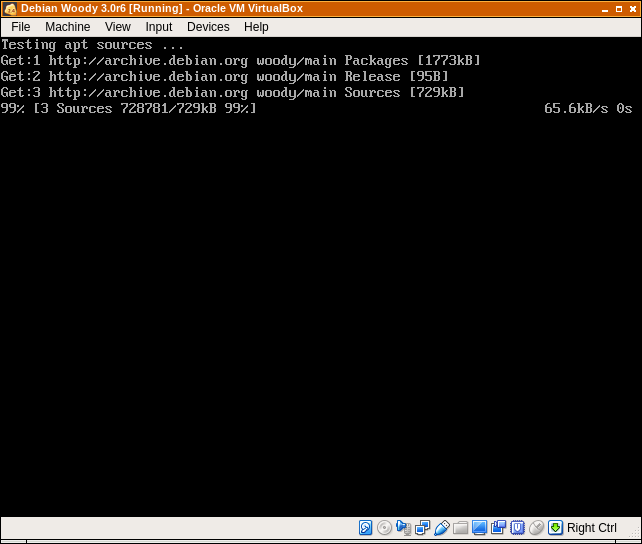
He will ask if you want to get security updates from security.debian.org, but as 3.0 is totally outdated and not supported anymore, we have to say no. We will always get the latest state of the art by the time debian 3.0r8 was frozen. More won't come.
No he asks for tasksel to start. If you are familiar to apt-get and know what you want to install (xfree86, mc, twm, blabla, ...) say no. Otherwise it's wise to use tasksel to get a selection of packages installed.
For a basic system choose "X Window System" and "Desktop Environment". This will install KDE as well as GNOME.
When prompted for Video driver, say "vesa" for VM and for real hardware search the list.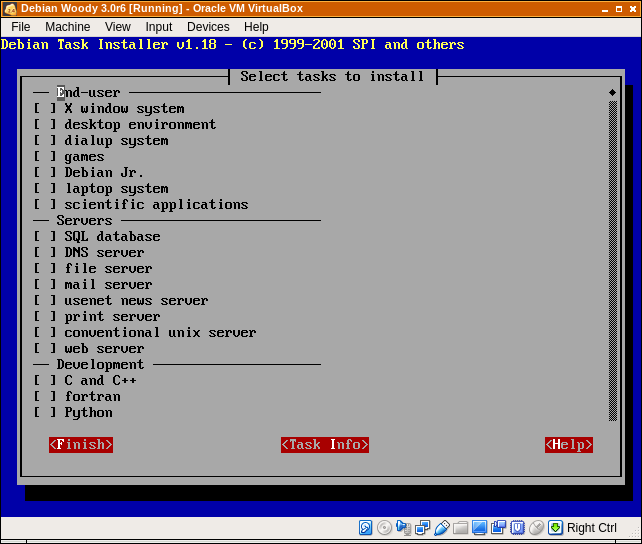
After this step a very long list of package names will roll down your screen and he asks if you really want to continue with downloading and installing. Say "Y".
At this moment debian archive download speed is something around 80kb/s, this takes a while for my package selection (~40minutes). Other times installing from debian archive this was much faster.
You can't rely on high-speed in an archive, for obvious reasons.
The next step is to configure the mail server, we skip that by typing 5 and RETURN.
Now we can login and we have our debian system up and running.
If you want to shutdown or reboot login and type:
< poweroff >
or
< reboot >
Later I am writing another post about some more configuration, X, KDE, ...
It will also come with a lot of screenshots for you.
I hope it was intersting for you, even if you're not going to install and just
look at screenshots of old software.
Comments
As there are no guest additions for this old linux, we just use normal network services.
-------------------------------------------------------------------------------------
Shared folders on Windows Hosts:
Method 1 - Server in VM, connect from Host
1. start ftp-server in VM (see next paragraph "Shared Folders on Linux Hosts")
2. use a program like FileZilla on host to connect to VM and copy data back and forth.
See end of this post for a Windows example. ALL the things to do im VM stay the same, no matter if you connect from Linux or Windows to the VM's FTP-server.
Method 2 - Windows Shares on Host, access from VM
4. Set up a windows share
5. mount it in VM ( --- TODO will write about this, as soon as I did it by myself ---)
This could cause trouble on newer Windows Hosts (Vista and Later) due to fucked up samba-protocol-changes.
I recommend the FTP-solution, as FTP will never change in a way that you can't connect anymore with recent software. And I am pretty sure, there still will be FTP clients for Windows in 20 years or more.
-------------------------------------------------------------------------------------
Shared folders on Linux Hosts:
We start a FTP server in VM. We install midnight-commander (Norton clone) on host and access the VM from host. mc is also a FTP-client, if you prefer other FTP clients, use these.
MC is also able to connect to ssh servers for file transfer, but there is a problem.
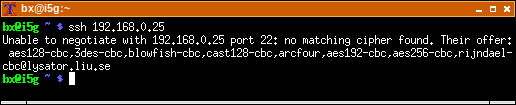
Old mc/ssh will not connect to recent ssh servers anymore and vice versa new ssh clients will not connect to this old server. Here is a example for such an error:
In the next steps I assume you have setup up a user called "bx", if named else, change name in these steps.
I also assume host has IP 192.168.0.15, VM has IP 192.168.0.25. See a few lines later for how to
figure out IP address. It works the same way on VM and host.
First of all, login as "root" in VM.
install vsftp-server in VM:
# apt-get install vsftpdfigure out IP of VM
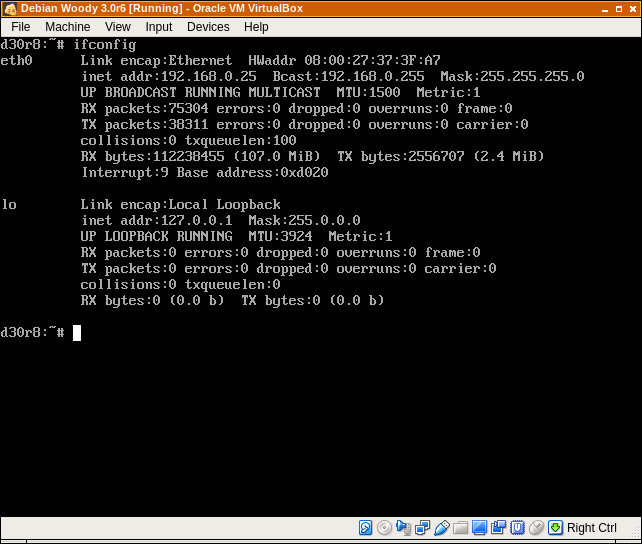
# ifconfigand look for your VM IP address, for example 192.168.0.25.
open text editor on file /etc/vsftpd.conf
# nano -w /etc/vsftpd.confIf a line is commented-out, it starts with '#'. Some lines need to be changed, some just included
by removing '#'.
Walk trough this file and change lines/remove comment sign:
ftp_username=bxanonymouse_enable = yeslocal_enable = yeswrite_enable = yesFor the variable ftp_username you will use your username, that you have created while installing.
Save and exit by CTRL-X and Y.
configure inetd to start vsftpd on incoming connections:
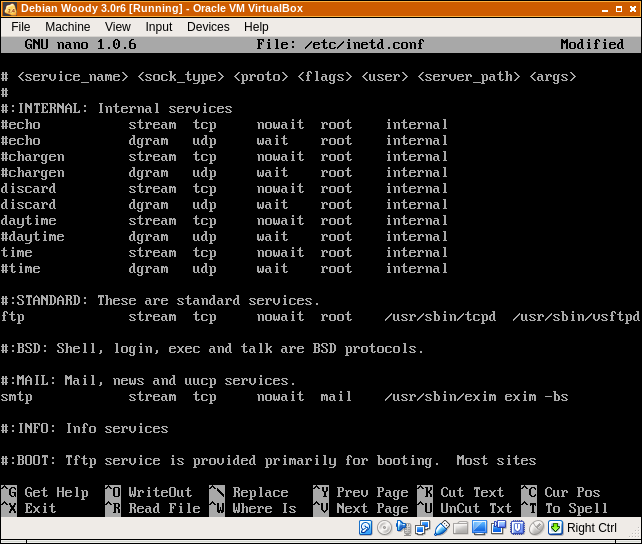
nano -w /etc/inetd.conflook for the line that start with a comment sign and has the ftp entry in the beginning.
Remove comment-stuff, so that it looks like this:
Save and exit by CTRL-X and Y.
Start FTP-Service by restarting inetd:
/etc/init.d/inetd restartNow the ftp server is running. If you have "nmap" on your host computer we could use this to verify everything is running like we want:
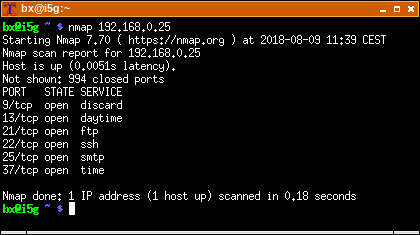
$ nmap 192.168.0.25If it shows ftp on port 21, everything is fine.
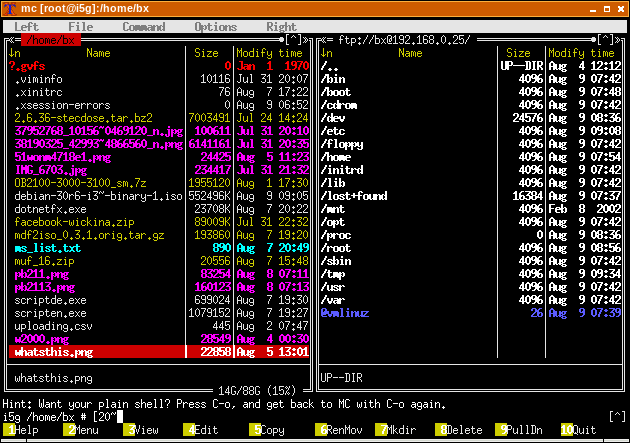
start mc (or other FTP client) on host and connect by opening menu (F9) choose "Left" or "Right" and choose "FTP-Link".
$ mcType in the destination, it's been assembled from these parts, change as needed:
VM-IP = 192.168.0.25
VM-User = bx
Destination = bx@192.168.0.25He will ask for password, type in the user's password, and you are connected.
Remember, mc is a norton commander clone, you can now copy/move data.
In this screenshot the right window is VM, left window is host's home.
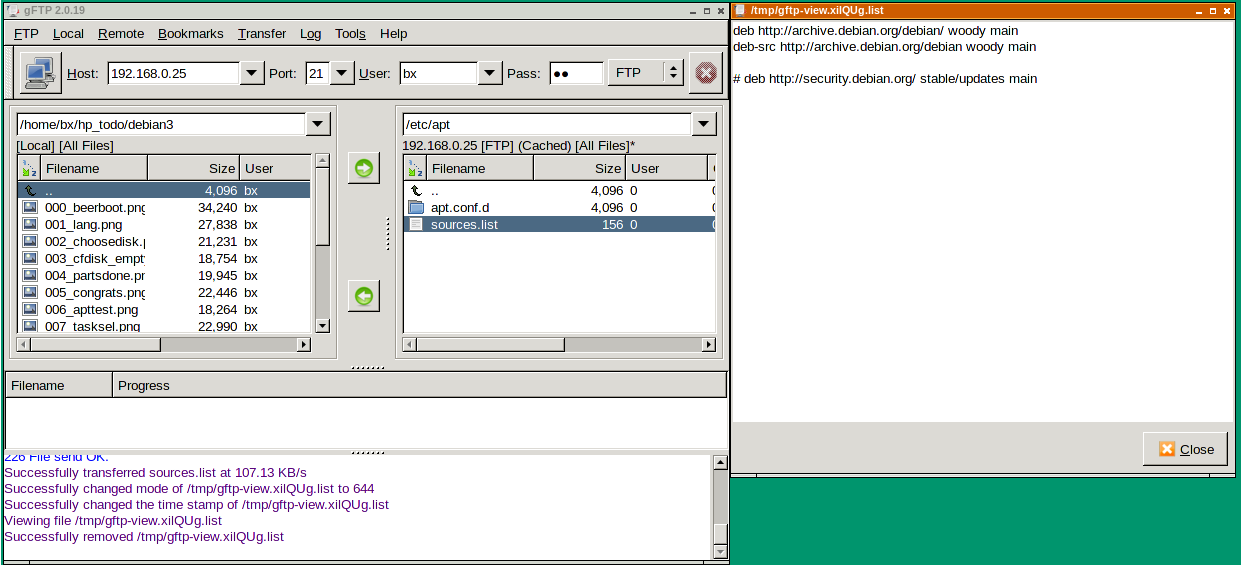
Here's a picture of another FTP Client (gftp) that views the file, we have created while installing, /etc/apt/sources.list from our VM:
Using Windows to connect to VM's FTP-server
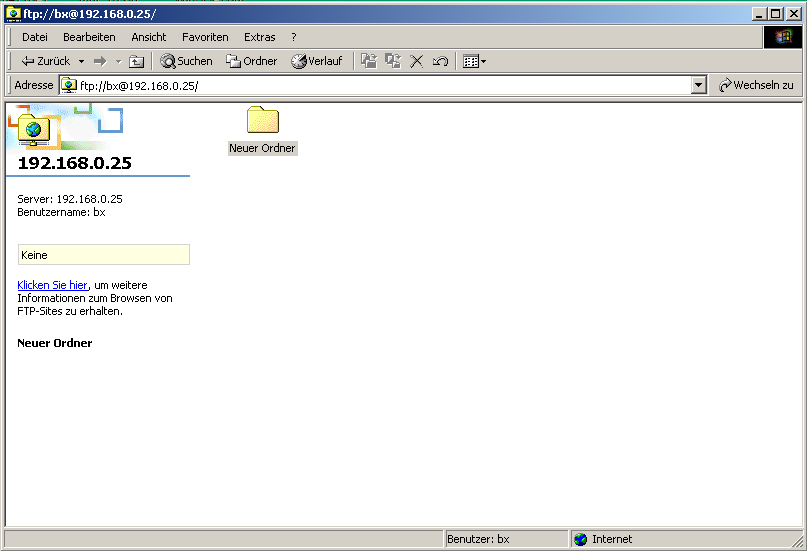
I recommend using WinSCP for transfer, but there are lots more FTP clients for windows around. Use whatever you like. Even Windows-Explorer in Win2000 already did FTP:
The address you have to type into address line is:
ftp://bx@192.168.0.25Mounting FTP-server in Linux / Using FTP-server as a drive in Windows
You also could permanently mount the ftp server. In Linux the VM contents
then always (when running) show up in a specified folder, like /mnt/vm-data.
I recommend curlftpfs for this, here's a short guide:
https://linuxconfig.org/mount-remote-ftp-directory-host-locally-into-linux-filesystem
In Windows you can configure this mount to get, for example, drive Q:.
Here's a link to a short guide:
https://www.thewindowsclub.com/map-an-ftp-drive-windows
Now we have all the dirty work done and we have a system, that talks to the world and it's host. I'll go over to programs (console+graphical) and more screenshots.
I think this is what most readers like most.
Here's the third part, a lot of screenshots and some comments.
The reason for me to download and install debian 3.0 in first was to have an old KDE system.
This was the UI I had when I first had hands on Linux (~2001-2002), it was KDE1 on SuSE 6.3.
Sadly it looks like something does not work with my Vesa 800x600 setup in VM and KDE. On an old Laptop it works perfectly, so for now without KDE screenshots. I'll make some soon on the laptop.
A short timeline to KDE:
1998 KDE1
2000 KDE2
2002 KDE3
2008 KDE4 (yeah I was waiting for this to get into portage on my gentoo Linux and used total broken "pre-alpha" releases for a long time, just to have KDE4)
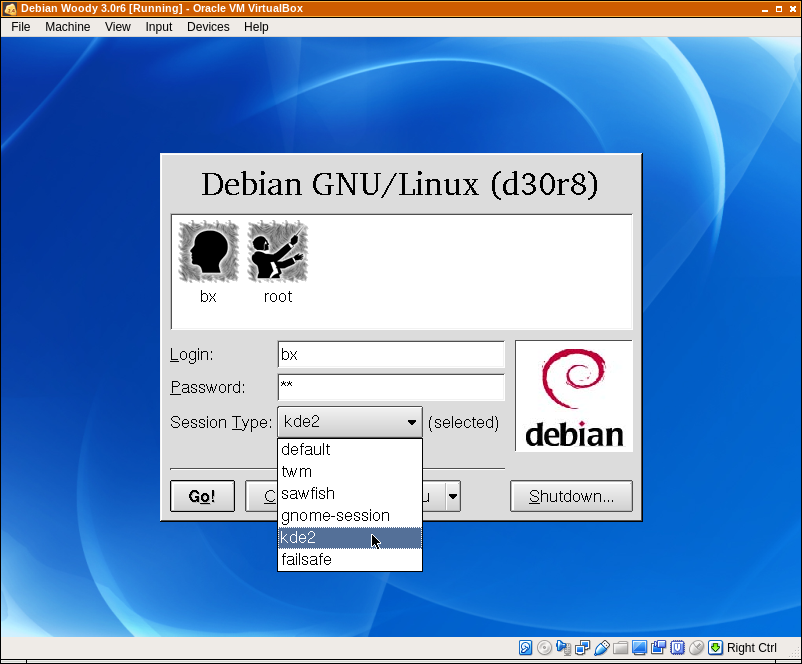
I have chosen KDM as the default display manager, this is what it looks like:
The wallpaper is a default KDE wallpaper for a long long time. It was used in KDE2 and KDE3.
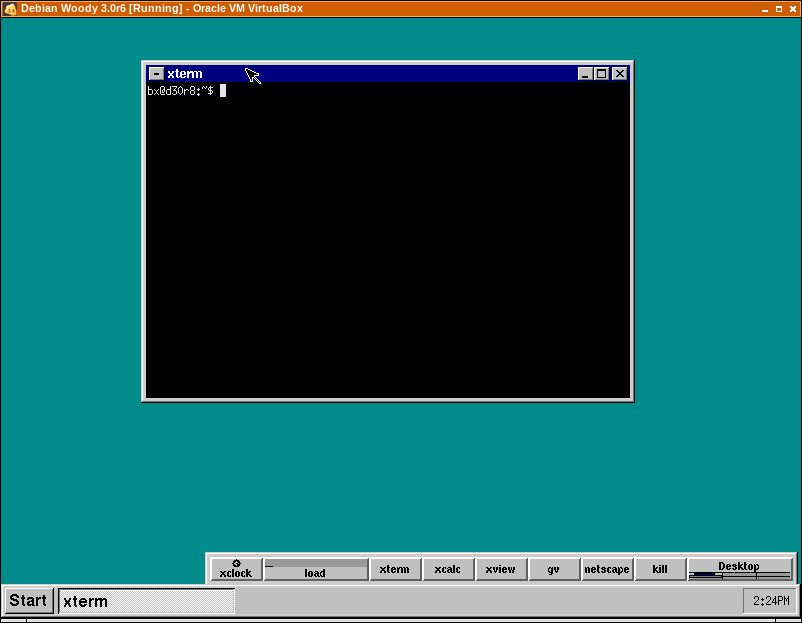
TWM
One of the very small and rudimentary window managers is twm. It's been around for ages.
Normally there is some other background, this comes from KDM. Looks strange, normally twm feels like being in a 70s movie about first computer nerds.
twm is often "bundled" as a fallback window manager with X Servers and as default if nothing else is installed/selected.
twm is still used todays.
FVWM and FVWM95")
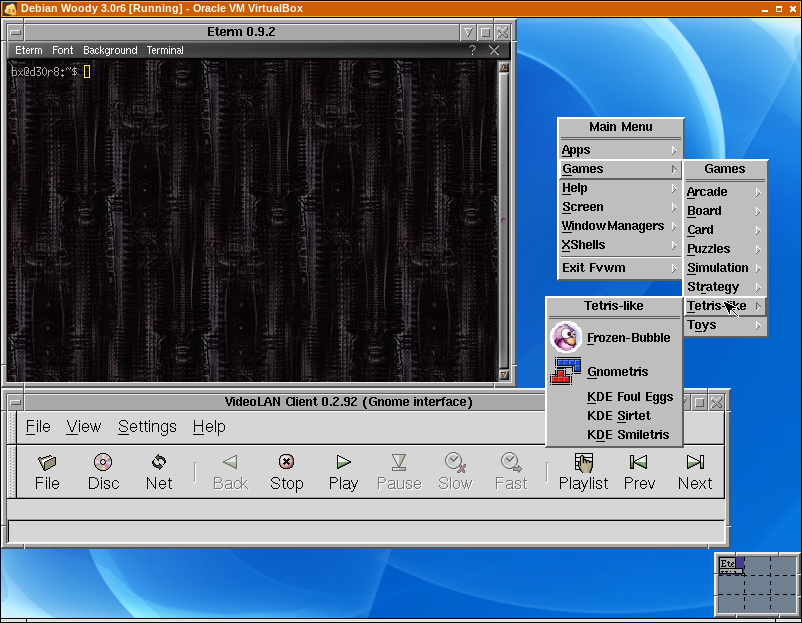
These are also around for ages. FVWM95 was forked from FVWM95, the screenshots should explain everything
Sadly, todays FVWM is horrible compared to this and FVWM95 is missing in a lot of distributions.
In one screenshot you see VLC Player.
Fluxbox

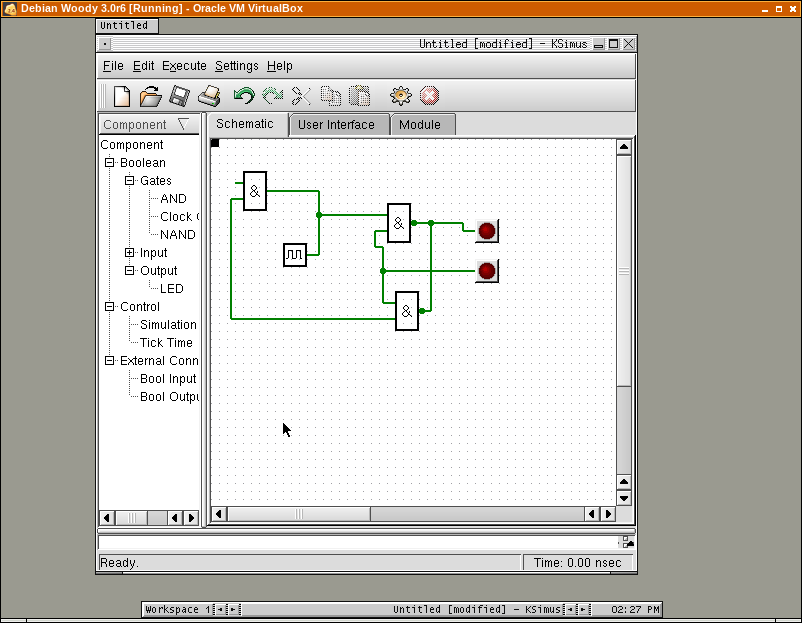
Another ancient, but still active, window manager. It was also used in "Damn Small Linux". It is so small and fast. And the look hasn't changed at all up to today. The "twice" color scheme is my preferred and it is the same.
The grey scheme is the default by debian 3.0r8.
The program there is a simulation program for electronics with a totally senseless diagram in it.
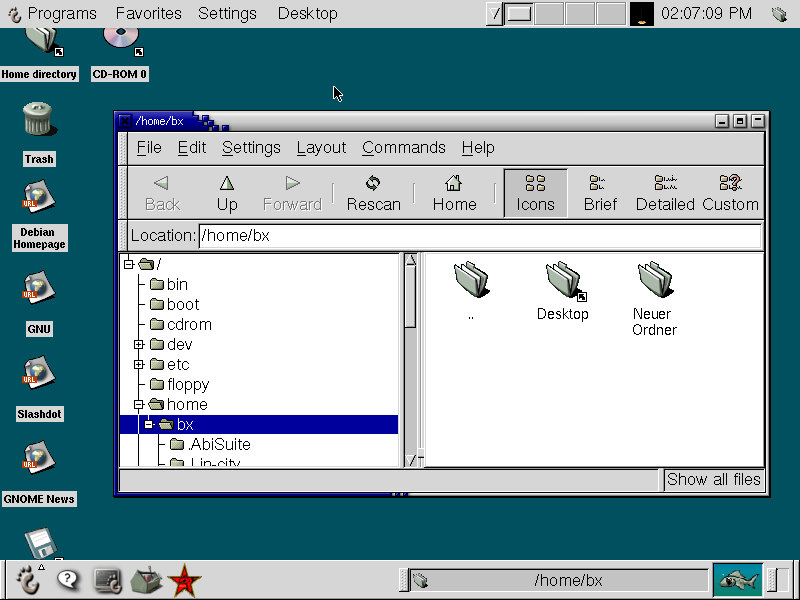
gnome
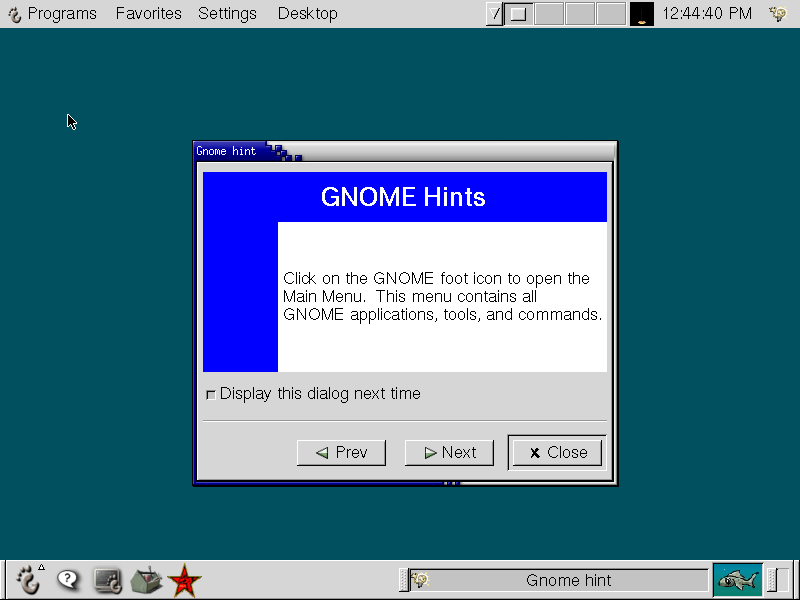
")

Gnome feels very basic and in a early stage. A lot of things you are used to are not there, yet.
But it is fast, stable and looks very good.
Desktop Icons first appeared, when I opened file manager first time, small bug...
That fish is animated
aptitude and synaptic
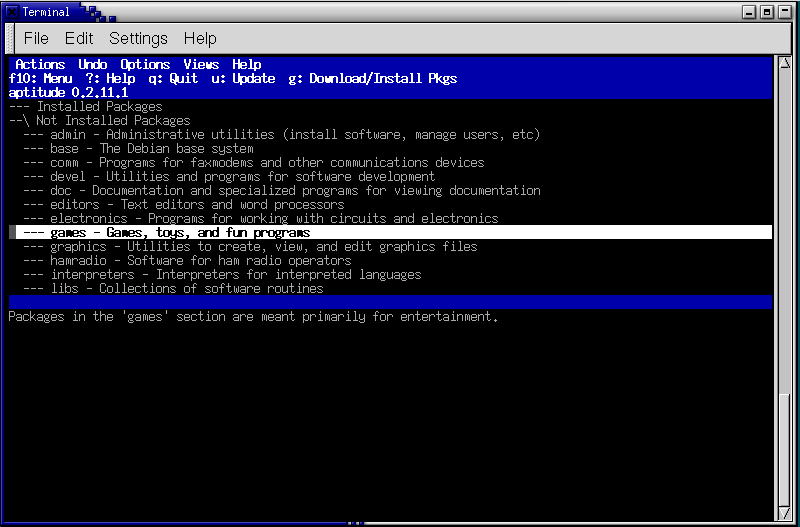
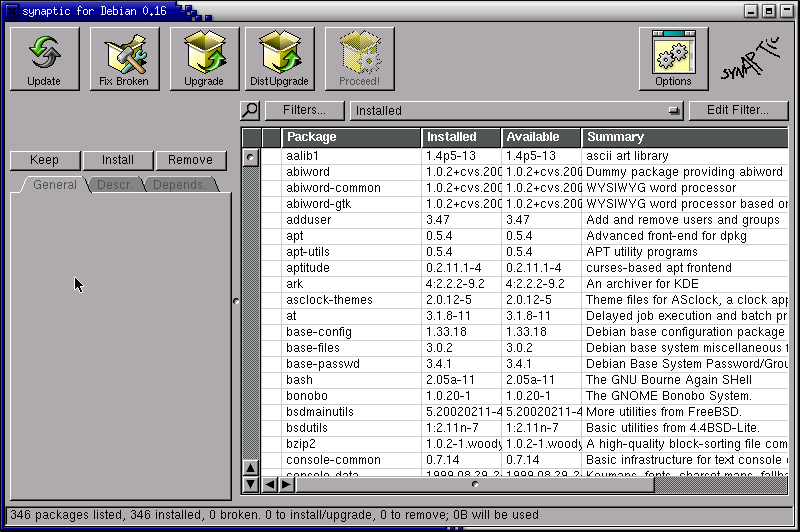
These are two tools to control the package manager.
One is ncurses based (aptitude) and the other is graphical (synaptic).
Abiword
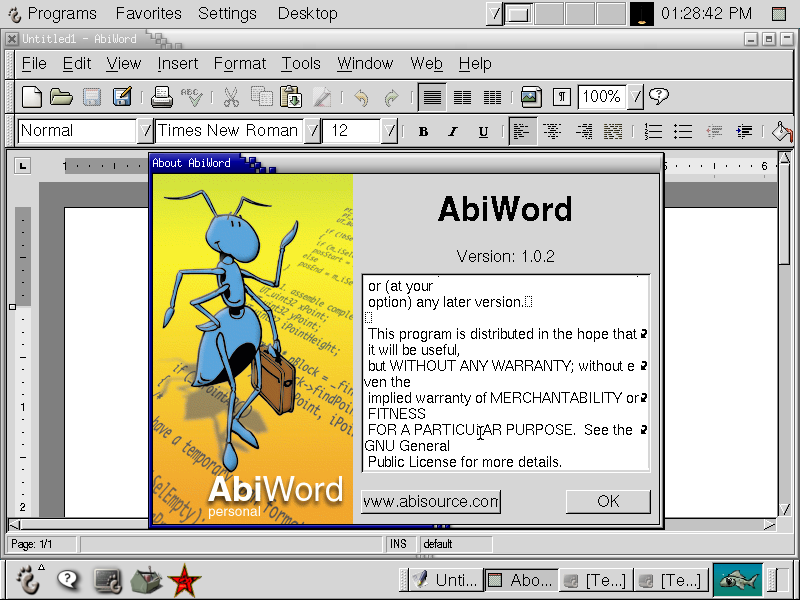
There's so less space on 800x600... Almost can't believe people worked with this for years, if I did not also had the same problems, but back then no one cared, it was no problem.
gpaint

Very very basic...
gimp
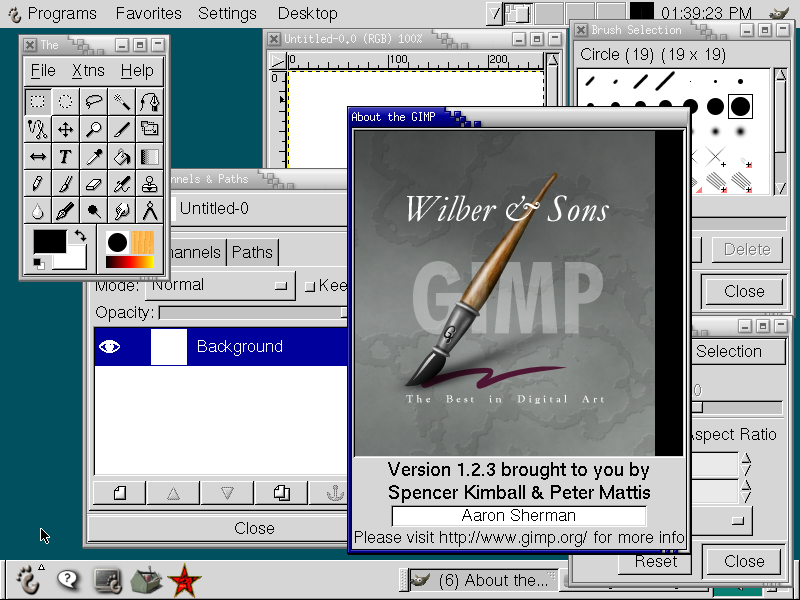
... but gimp was a monster already back then
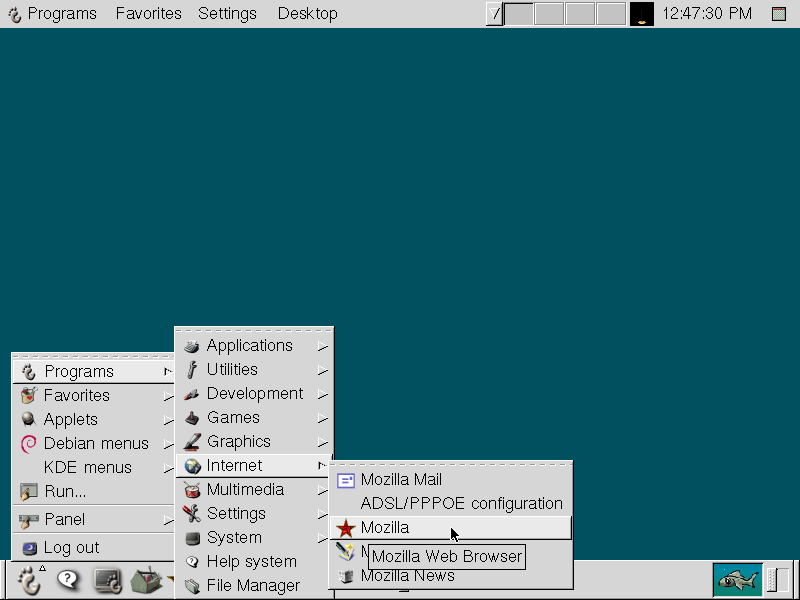
Now we come to Internet, Mozilla
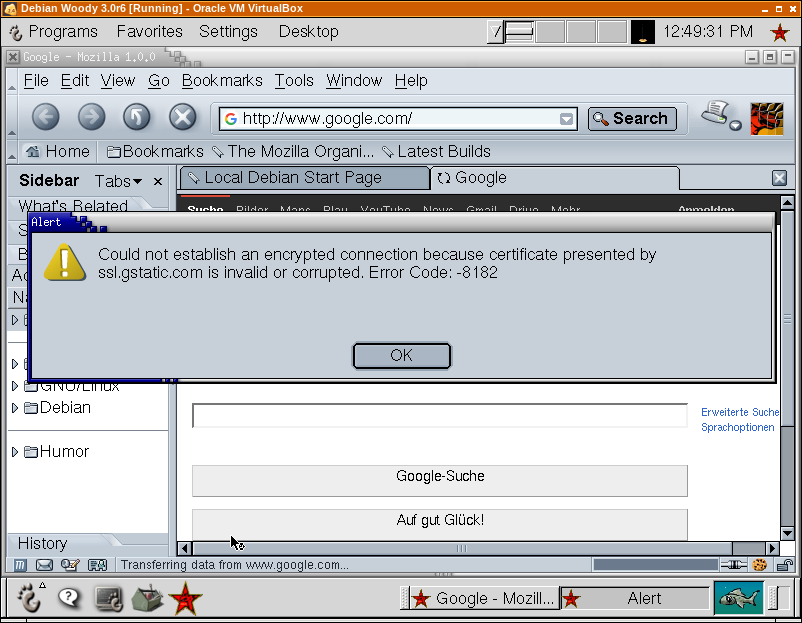
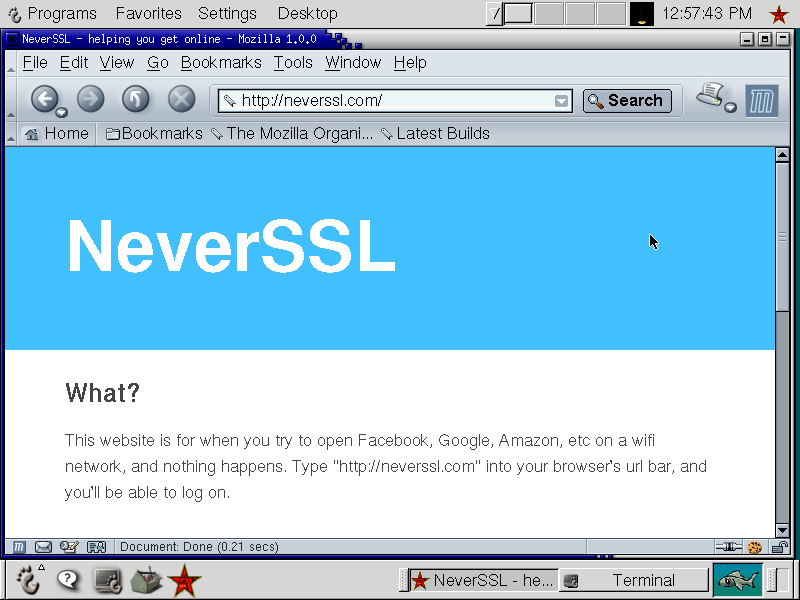
As most pages get HTTPS I cant access them anymore. google still works, but gives errors every click you do.
winworldpc does not work anymore.
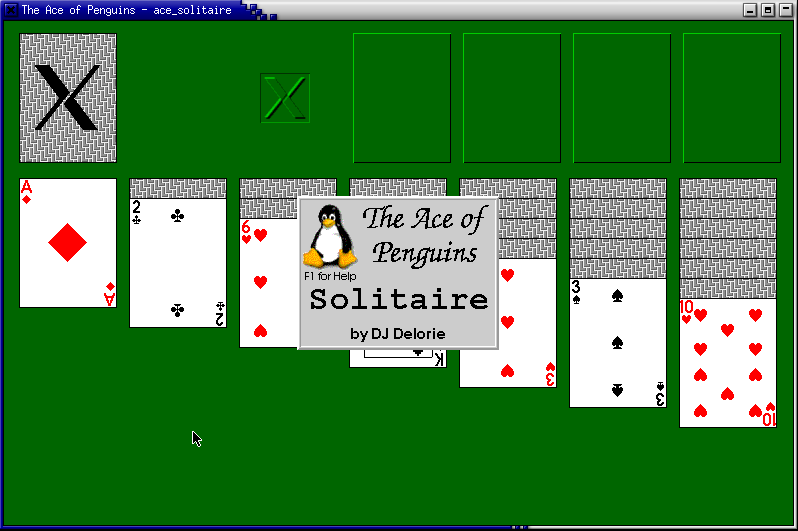
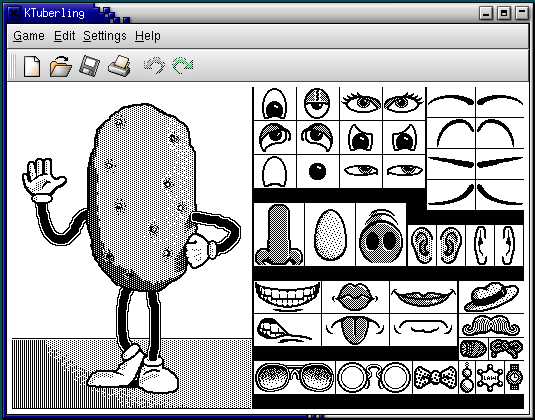
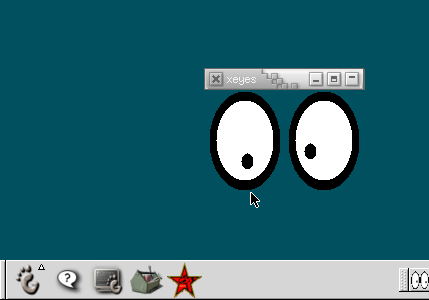
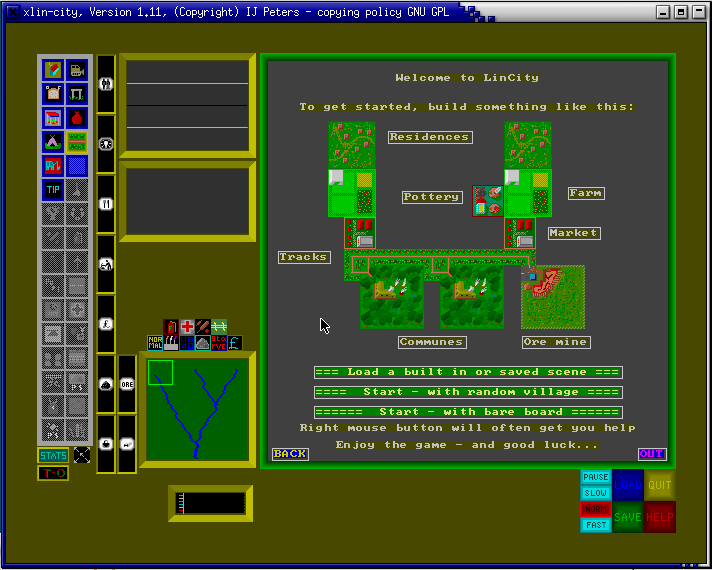
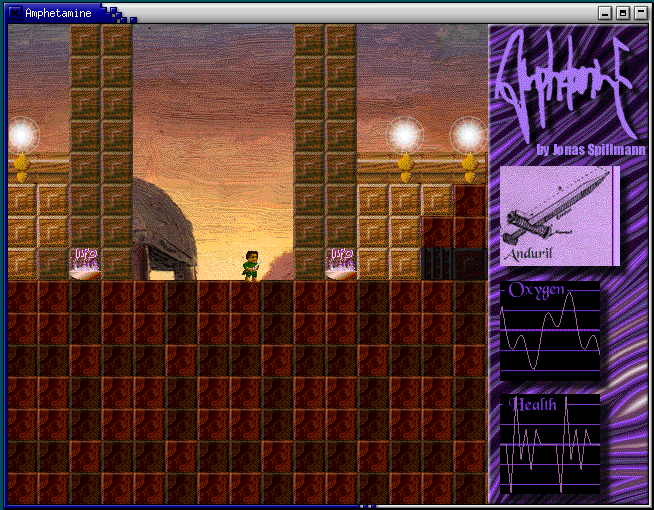
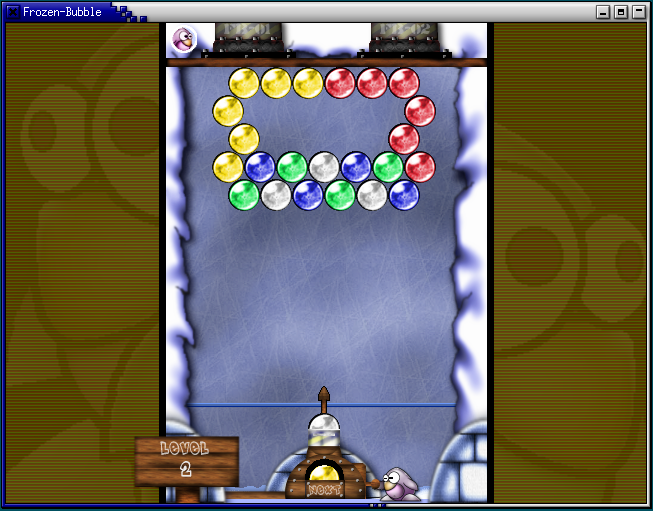
And here a few games, they also haven't or almost haven't changed.

Soon I will setup another VM with another old Linux to get KDE1 screenshots. I think it will be SuSE6.3, as this was my first.
The look here is very good, but still feels to modern for me. There is a "unix"-feel that a console-bsd or old solaris has and there is "linux-feel" that old KDE and old console linux has, can't explain what exactly the details are...
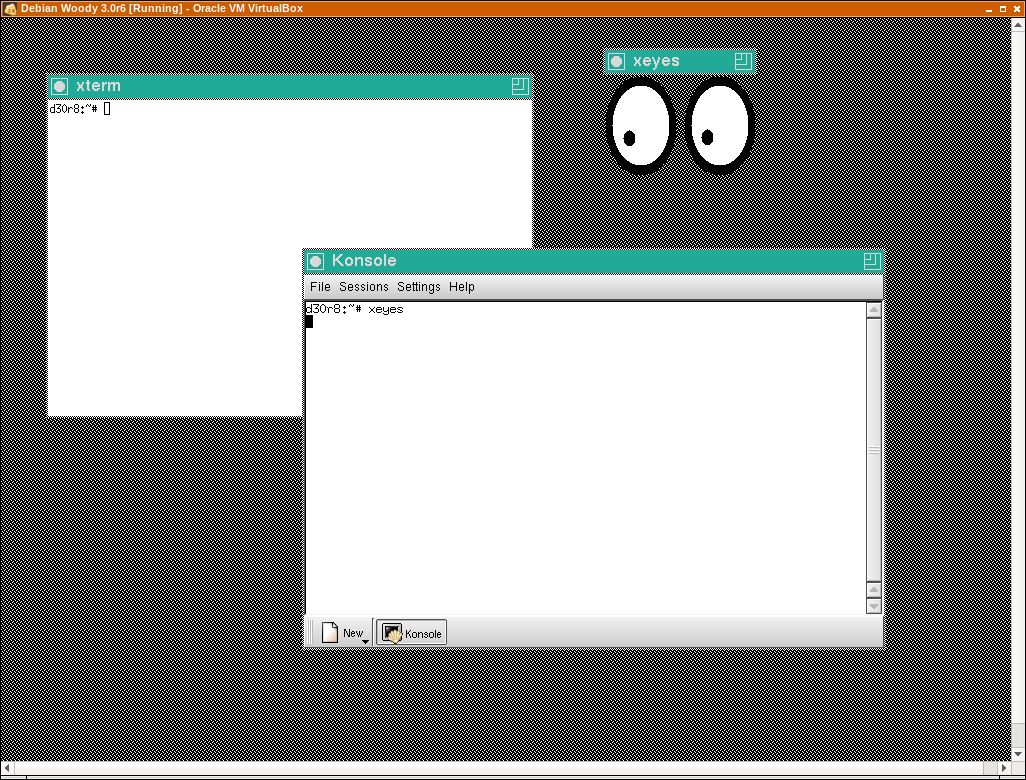
Somewhere above I was talking about twm's default background.
I have added "exec twm" to ~/.xinitrc and with "startx" I bypass the display manager (kdm). This way I have the default bg:
//edit what the fuck.... import is messing up colors, I'll do one from VM and you will see the real colors.
This is what it looks like in real:
WTF its also in VM messed up....
//edit2:
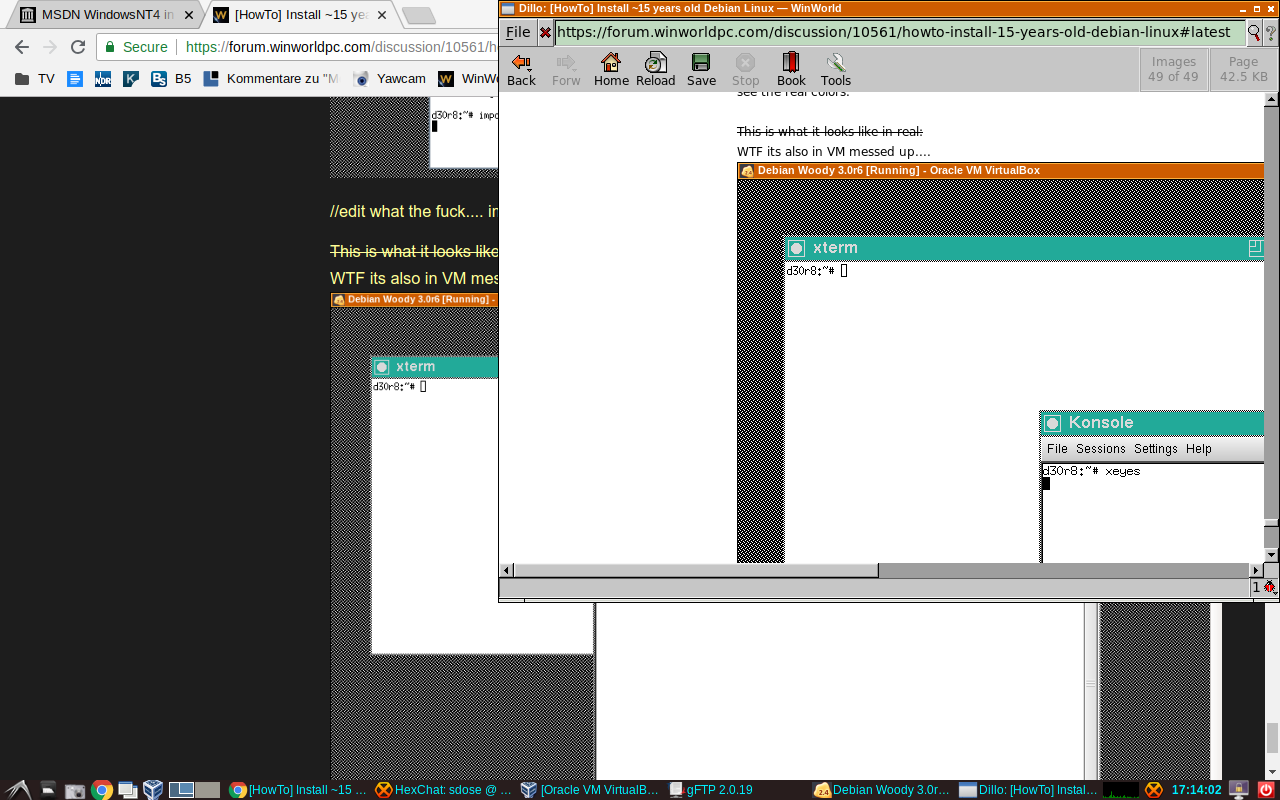
It gets messed up by my browser Chrome, another browser (dillo) shows everything correct:
It would be great to see it on Woody (3.0r6/r8)